By Posture Reminder AI
Published by Posture Reminder AI
Drawing Tablet Ergonomics: Protect Your Neck Without Floating Your Arm
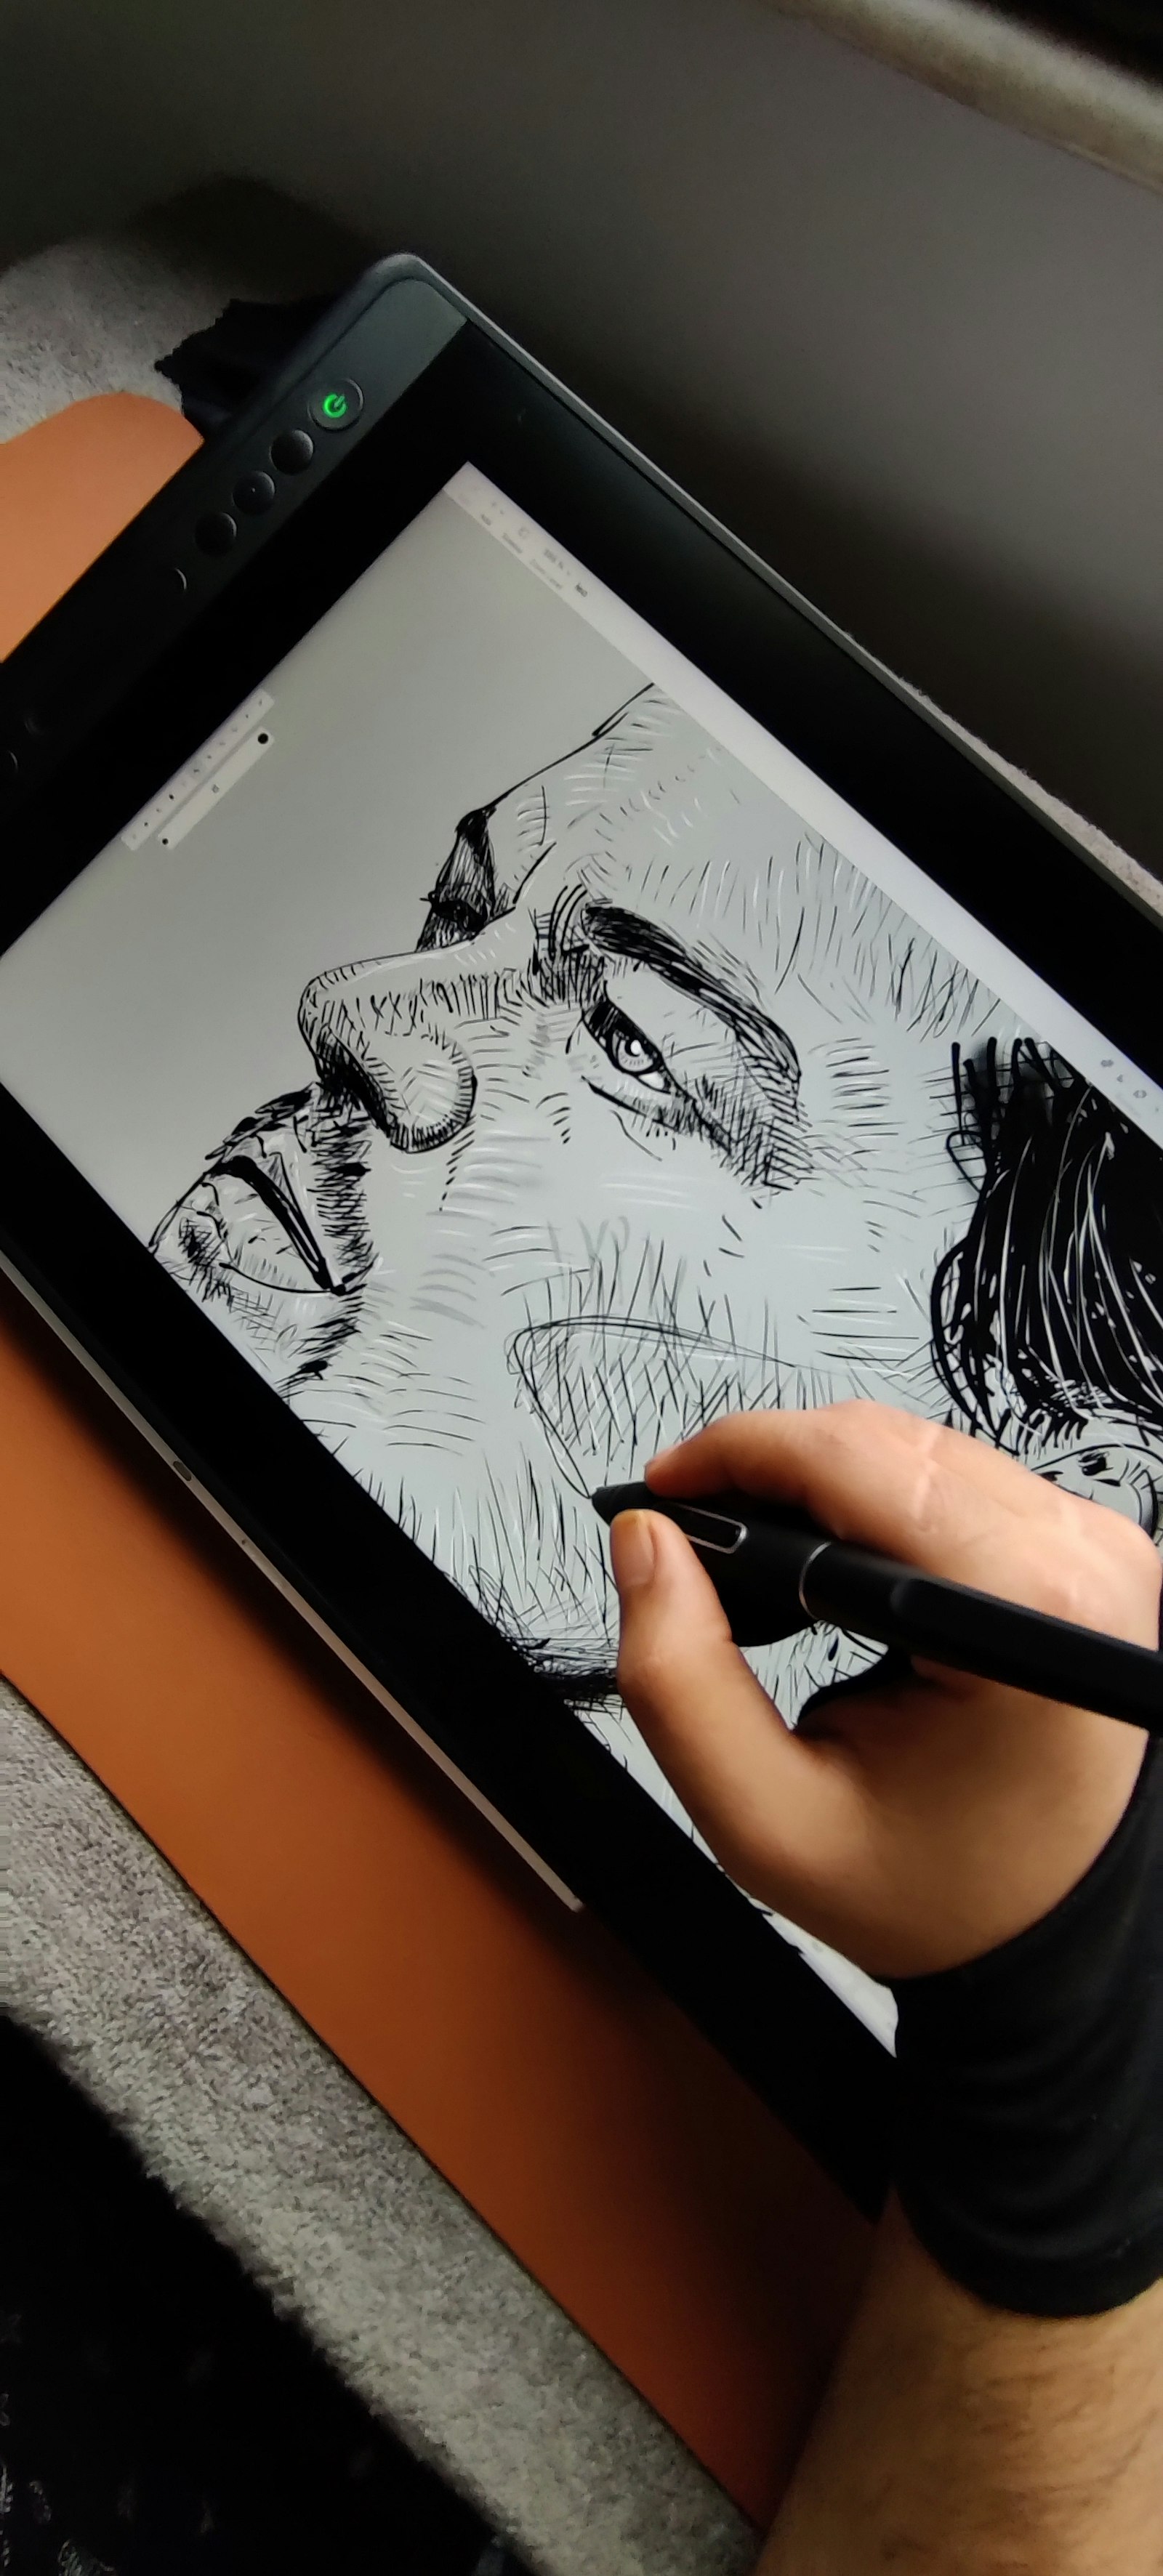
Drawing displays create an awkward ergonomic puzzle. Place the screen low and flat, and you may spend hours bending your neck toward the artwork. Raise it aggressively, and your drawing arm may hover in front of you while your shoulder works continuously to hold it there.
Quick summary
Summarize this blog with AI
Drawing displays create an awkward ergonomic puzzle. Place the screen low and flat, and you may spend hours bending your neck toward the artwork. Raise it aggressively, and your drawing arm may hover in front of you while your shoulder works continuously to hold it there.
The goal is not to find one perfect display angle. It is to create a supported, adjustable workspace where you can see details without leaning and draw without lifting your shoulder or reaching away from your body. Your setup should also let you change positions as the task changes.
Key Highlights
- Improving neck position should not require an unsupported drawing arm.
- Set chair, feet, desk height, and forearm support before fine-tuning the display.
- Bring the artwork closer and enlarge it before assuming the display must move higher.
- Keep shortcut controls near the non-drawing hand so neither shoulder repeatedly reaches outward.
- Use symptom response and muscle effort to guide adjustments instead of chasing a universal angle.
- Rotate tasks and positions rather than holding even a comfortable pose for an entire work session.
What to Do Today
- Move the pen display close enough that you can draw without reaching your upper arm forward.
- Incline it only until you can see the working area without repeatedly dropping your head.
- Support part of your forearm on a broad, smooth surface while preserving free pen movement.
- Increase canvas zoom, interface scaling, and reference-image size so small details do not pull your face toward the screen.
- Move your keyboard, shortcut remote, or control pad next to your non-drawing hand.
- Test the setup for ten minutes. If your neck improves but your shoulder begins to burn or rise, the display is too demanding for your arm.
Pen Display vs. Screenless Drawing Tablet
A pen display combines the artwork and input surface. This direct eye-hand relationship can feel natural, but it couples two ergonomic needs that do not always agree: the screen must be visible to your eyes while the drawing surface remains reachable by your arm.
A screenless tablet separates those needs. The monitor can remain near a comfortable viewing position while the tablet stays lower and closer to the body. That can make arm support easier, although drawing while looking at a separate screen requires adaptation and does not automatically prevent poor posture.
Neither type is universally healthier. A well-supported pen display can be comfortable, while a screenless tablet can still cause trouble if it is too far away, too large for the available desk, or paired with a poorly positioned monitor. Choose and arrange the device around the work you actually perform.
Understand the Neck-and-Arm Tradeoff
Lowering a pen display usually makes the arm easier to support, but it can invite prolonged downward viewing. Raising or steepening the display may reduce neck flexion, but it also moves the drawing target upward and forward. The shoulder then has to hold more of the arm’s weight.
That tradeoff explains why a change can help one area and aggravate another. Neck relief accompanied by shoulder fatigue is not a successful setup. Neither is a relaxed shoulder paired with constant head bending.
Look for a middle position where your gaze can reach the active canvas with modest eye and head movement, your elbow remains reasonably close to your torso, and part of the arm’s weight is supported. You should not need to pin your shoulder back, shrug it upward, or hold the entire arm in space.
The broader guidance from the OSHA computer workstation checklist is useful here: input devices should remain close, the workstation should be adjustable, and tasks should allow posture changes and recovery pauses. A pen display is not a conventional monitor or mouse, so treat those principles as a framework rather than a rigid drawing-tablet formula.
Use This Setup Sequence
Adjusting the display first often creates a chain of compensations elsewhere. Work from the body outward instead.
- Set your chair and feet. Sit far enough back to use the backrest when appropriate. Keep your feet supported by the floor or a stable footrest rather than raising the chair until your legs dangle.
- Relax your shoulders. Let your upper arms hang naturally before placing your hands on any device. If the desk immediately pushes your shoulders upward, address the work-surface height before refining the display.
- Choose the tablet’s working zone. Place the area you use most near your body’s center instead of reaching toward a distant corner of a large display.
- Bring the display closer. Moving it closer can improve readability without forcing it dramatically higher. Leave enough room for comfortable pen strokes and avoid crowding the front edge of the desk.
- Add only as much incline as you need. Increase the incline gradually while watching for shoulder lift, elbow drift, or loss of forearm support.
- Support the arm. Adjust the desk, chair arm support, or a dedicated forearm surface so it carries some weight without creating a hard pressure point.
- Place secondary controls. Keep frequently used shortcuts, the keyboard, and pointing devices within an easy reach.
- Test before committing. Draw normal strokes and use real shortcuts. A setup that looks tidy but fails during actual work is not ergonomic.
Stand and Monitor-Arm Options
A stable adjustable stand can help you move between flatter sketching and a more inclined viewing position. A monitor arm may add height, depth, tilt, and rotation adjustments while freeing desk space. Neither option is automatically better.
Check that any arm or stand is approved for the display’s size, weight, and mounting pattern. It should remain stable under pen pressure without bouncing or slowly sinking. Preserve cable slack through the full movement range, and ensure clamps or bases do not weaken the desk.
Most importantly, do not use an arm merely to make the display resemble an upright monitor. If that position forces your drawing elbow away from your torso or leaves the forearm unsupported, use the arm to bring the display closer or lower instead.
Support the Forearm and Place Shortcuts Carefully
Supporting only the wrist can leave the shoulder carrying most of the arm. Aim for broader support under part of the forearm, provided the surface does not restrict your stroke or press sharply into the wrist and elbow.
The support might come from the desk, a properly adjusted chair arm, a smooth front edge, or an accessory designed for forearm support. It should not force your shoulder upward. Avoid leaning heavily on a narrow edge or compressing the inner elbow for long periods.
Shortcut placement matters too. Put the most-used controls close to the non-drawing hand. If a full keyboard pushes the display away, move the keyboard aside during drawing or use a compact shortcut layout. The goal is to avoid hundreds of wide reaches while keeping both shoulders relaxed.
Use Canvas Zoom and Readability as Ergonomic Controls
Artists often lean closer because the canvas, cursor, menus, or reference image is too small. Before changing furniture, enlarge the active artwork, increase interface or text scaling, and move reference material onto a readable display.
Zoom and rotate the digital canvas instead of repeatedly bending your neck or twisting your wrist to reach an awkward stroke direction. Recenter the working area frequently so detailed work does not migrate toward a distant edge of the tablet.
Rotate Tasks and Positions
No supported posture should become an all-day posture. The OSHA guidance on working positions recommends changing position even when the starting posture is good. Current CDC/NIOSH office guidance likewise advises against sitting or standing too long and notes that short hourly breaks can reduce computer-related discomfort.
Use natural workflow boundaries. Sketch in one position, sit back to review composition, use a separate monitor for reference work, stand for a call, and change the display incline before detailed line work. Small changes reduce the time any one tissue must carry the full workload.
A 10-Minute Drawing-Setup Self-Test
This test cannot prove that a setup will remain comfortable for hours, but it can quickly reject positions that demand obvious compensation.
- Minute 0: Relax your jaw and shoulders. Note any existing discomfort before drawing.
- Minutes 1–2: Draw broad strokes. Check whether the shoulder rises, the elbow moves far from the torso, or the forearm loses support.
- Minutes 3–5: Work on fine detail. Notice whether your face moves toward the display. Increase zoom or move the display closer before raising it.
- Minutes 6–8: Use normal shortcuts and switch tools. Watch for repeated reaching, wrist bending, or pressure at the inner elbow.
- Minutes 9–10: Sit back and compare both sides. Rate neck, shoulder, forearm, and wrist effort as lower, unchanged, or higher than at the start.
Change one variable at a time and repeat. Reject positions that create rapid burning, tingling, numbness, or increasing pain. Do not treat discomfort as something you must endure while your body “learns” the setup.
Common Drawing-Tablet Setup Mistakes
- Optimizing only the neck: Raising the screen until the drawing arm must hover.
- Keeping the display completely flat: Accepting prolonged downward viewing because it resembles paper.
- Placing the keyboard behind the display: Reaching over or around the tablet for every shortcut.
- Using tiny interface elements: Leaning forward to read controls instead of adjusting zoom and scaling.
- Supporting only the wrist: Leaving the shoulder responsible for most of the arm’s weight.
- Changing everything at once: Making it impossible to identify which adjustment helped or hurt.
- Chasing a perfect pose: Holding still instead of building position changes into the work.
When Symptoms Need Evaluation
Ergonomic changes can reduce avoidable strain, but they cannot diagnose an injury or nerve condition. Arrange a medical evaluation when pain is severe, worsening, persistent despite reasonable changes, or interfering with sleep and normal activity.
Seek prompt care for symptoms that spread into the arm or hand, numbness, tingling, weakness, loss of coordination, dropping objects, or symptoms following an injury. The Mayo Clinic’s neck-pain guidance recommends professional assessment when neck pain is intense, fails to improve, spreads into the limbs, or occurs with numbness, weakness, or tingling.
Frequently Asked Questions
Should a pen display be flat or upright?
Neither position is universally correct. Start between those extremes and adjust according to visibility, forearm support, shoulder effort, and actual symptoms. A steeper position is not better if it makes your arm hover.
Is a screenless tablet more ergonomic?
It can make it easier to separate monitor height from input height, but comfort still depends on tablet size, placement, monitor readability, and movement habits. Some artists also need time to adapt to the separate hand and eye locations.
Should my elbow rest while I draw?
Your arm should have meaningful support, but the elbow does not need to remain planted in one spot. Broad forearm support that permits movement is often more useful than pressing the elbow or wrist into a hard edge.
Can a monitor arm solve drawing-tablet neck pain?
An appropriate arm can improve adjustability, but it cannot decide the correct position for you. Use it to balance viewing comfort with reach and arm support, and verify that it remains stable under pen pressure.
Why did raising my display help my neck but hurt my shoulder?
The higher position likely reduced downward viewing while increasing the amount of arm weight your shoulder had to hold. Try bringing the display closer, reducing the incline slightly, enlarging the canvas, and restoring forearm support.
How often should I change position?
There is no universal schedule for every artist or task. Use regular workflow boundaries and respond before discomfort builds. Longer sessions generally benefit from more frequent posture and task changes.
Related Reading
- Desk Shrimp Posture: Why You Fold Toward the Screen
- Pain Under One Shoulder Blade From Desk Work
- Desk Elbow Pain, Inner-Elbow Pain, and Pinky Tingling
- Hand Numbness and Tingling During Computer Work
Tools That Help
- Ergonomic Calculator for a starting workstation assessment.
- Slouch Reset Planner for building position changes into the workday.
- Posture Photo Tool for reviewing visible workstation patterns.
Medical Disclaimer
This article provides general educational information and is not medical advice, diagnosis, or treatment. Individual anatomy, health conditions, and work demands vary. Consult a qualified healthcare professional about persistent, severe, radiating, or neurological symptoms.