By Posture Reminder AI
Published by Posture Reminder AI
Split Keyboard Wrist Pain: How to Set It Up Before You Blame the Keyboard
Updated for May 30, 2026. A split keyboard can be a smart ergonomic move, but it can also create new wrist pain if the setup changes faster than your body can adapt. The board may be better designed than your old keyboard and still be wrong for your current desk height, arm position, tenting angle, or workload.
Quick summary
Summarize this blog with AI
Updated for May 30, 2026. A split keyboard can be a smart ergonomic move, but it can also create new wrist pain if the setup changes faster than your body can adapt. The board may be better designed than your old keyboard and still be wrong for your current desk height, arm position, tenting angle, or workload.
The useful question is not whether split keyboards are good or bad. The useful question is whether this specific keyboard is letting your hands rest where your shoulders, elbows, wrists, and fingers already want to work.
This guide explains how to troubleshoot split keyboard wrist pain before you blame the keyboard, force a painful transition, or buy another board.
Fast Answer
If a split keyboard causes wrist pain, first lower the effective keyboard height, reduce aggressive tenting, bring each half closer to the natural shoulder line, keep the mouse close, and cut typing volume during the transition. OSHA keyboard guidance recommends relaxed shoulders, elbows close to the body, and wrists straight with the forearms. NIOSH alternative keyboard guidance also notes that the whole workstation matters, and that tented alternative keyboards may need a lower surface than standard keyboards.
Do not push through sharp, spreading, or nerve-like symptoms just because the device is marketed as ergonomic. Ergonomic equipment still has to fit the person and the task.
Why a Split Keyboard Can Still Hurt
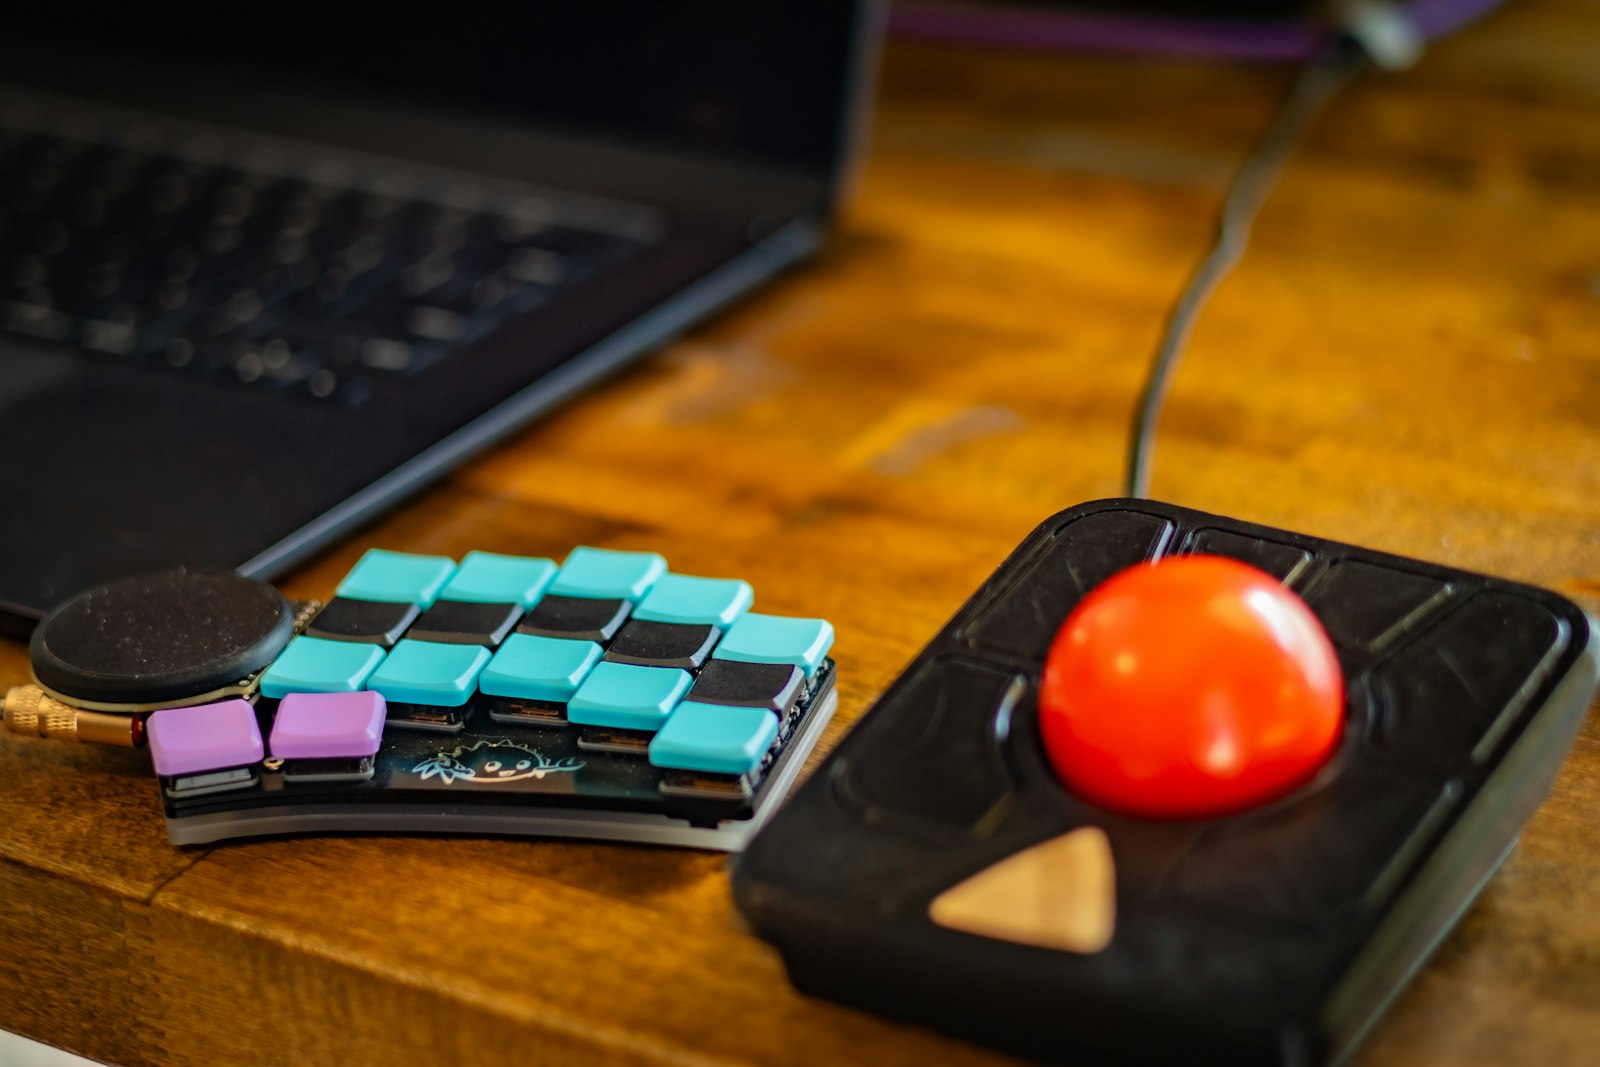
A split keyboard usually tries to reduce sideways wrist bend by letting the hands sit farther apart. That can help when a standard keyboard forces the elbows inward and the wrists outward. But the split also changes several variables at once: shoulder width, forearm rotation, wrist angle, thumb use, key reach, tenting height, mouse placement, and typing rhythm.
If any one of those variables is too aggressive, the new setup can feel worse than the old one. A board with steep tenting can lift the hands too high. A wide split can make the shoulders hold tension. A compact columnar layout can overload thumbs or pinkies while you are learning. A desk that was barely tolerable with a flat keyboard can become clearly too high once the keyboard is tented.
This is why the first week can be confusing. Some soreness is ordinary learning load. Escalating pain is not a badge of adaptation.
Check Height Before Tenting
Height is the first variable to fix because it changes everything else. Sit or stand in your normal work position and let the shoulders drop. Your elbows should hang near your sides. The keyboard should come to that arm position, not the other way around.
If the board sits too high, you will lift the shoulders or bend the wrists back. If the board sits too low, you may collapse into the desk or reach forward. Tenting can make this mismatch worse because the highest keys and thumb cluster may sit far above the desk surface.
Use the lowest tenting angle that gives a clear benefit. If the keyboard feels good flat but painful when tented, the tenting angle is not a moral victory. It is a variable to reduce.
Set Width and Rotation From Your Body
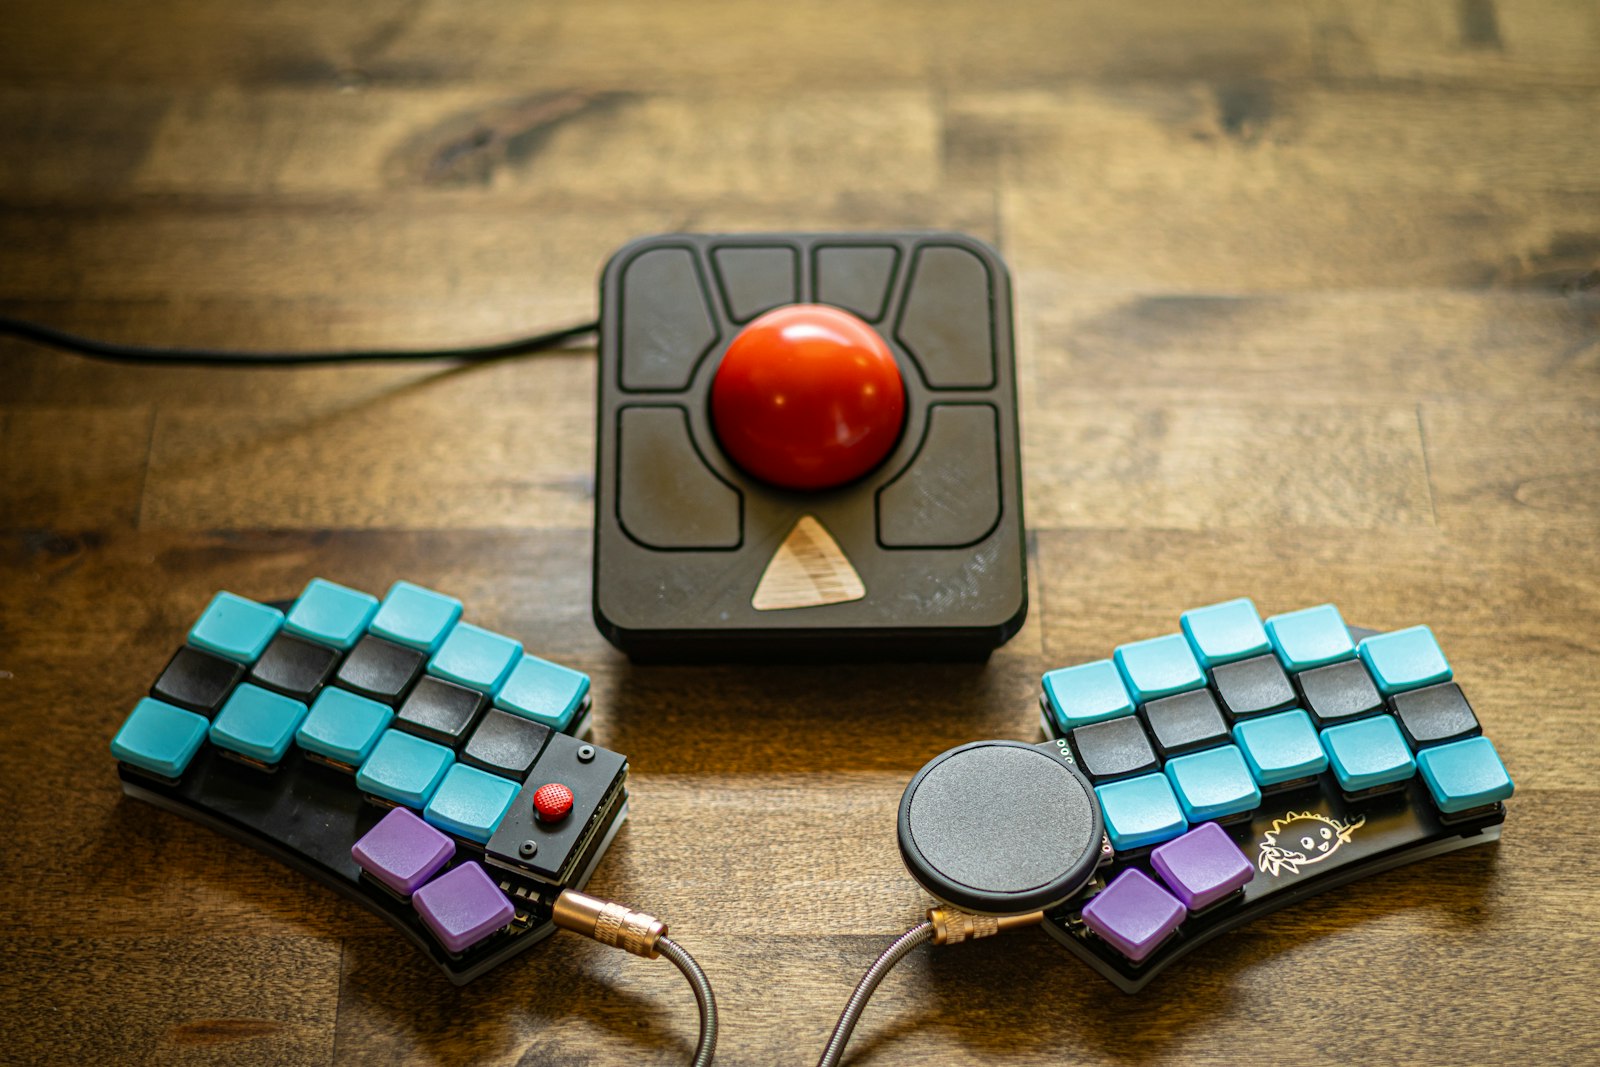
Start with each half roughly under the shoulder on that side, then bring the halves inward or outward until the wrists look straight without effort. The elbows should not flare wide. The hands should not be pinched together. Your forearms should point toward the home row without a twist.
Rotation matters too. Many people angle the halves too aggressively because the layout looks more ergonomic that way. Let the keyboard match the forearm path. If the wrists bend outward to reach the keys, rotate the halves inward a little. If the wrists bend inward or the elbows flare, reduce the angle.
Take one overhead photo after ten minutes of real work. Photos are useful because the body quietly migrates back to familiar habits once attention returns to the screen.
Watch the Thumb Cluster and Pinky Load
Split ergonomic keyboards often move important actions to the thumbs. That can be helpful, but it can also overload a thumb that was not previously doing that much work. If thumb keys feel like reaches, reduce their use, remap the layout, or move the halves so the thumb rests near the keys instead of stretching toward them.
The same applies to pinkies. A new layout can make modifier keys, layer keys, or outer columns more demanding. Pain on one side can come from a small mapping choice, not from the entire split-keyboard idea.
During the first two weeks, treat layout changes like training load. Add one change, test it, and keep what lowers strain. Do not redesign the whole keyboard every night and then wonder why the hands feel unstable.
Ease Into the Layout
A new split keyboard may ask your hands to relearn positions while your job still expects normal output. That is a classic overload setup. Use the new board for lower-pressure blocks first: email, browsing, notes, or short writing sessions. Keep the old keyboard available for deadline work if the new setup is still unfamiliar.
Increase use by time, not pride. Thirty to sixty minutes at a time is enough at first for many people. If symptoms rise during the block or feel worse the next morning, reduce the dose. The fastest transition is the one that does not create a flare you have to recover from.
This also applies to touch typing practice. Practice is still typing volume. If you spend the workday typing and then add an hour of layout drills at night, the hands may not care that the second session was educational.
Fix the Mouse Position Too
A split keyboard can accidentally push the mouse farther away. If the right half sits wide and the mouse sits outside it, the wrist may feel better while the shoulder gets worse. Then the arm starts guarding, and the wrist can become irritated again.
Keep the mouse or trackpad close to the keyboard half you use most. If needed, put the pointing device between the halves for navigation-heavy work, or use a compact pointing setup for certain tasks. The goal is not symmetry. The goal is less reach.
If mouse work is also part of the pain pattern, compare this setup against mouse wrist pain fixes and trackpad versus mouse RSI tradeoffs.
When to Stop Testing
Stop testing the new setup if pain is sharp, spreading, associated with numbness or tingling, waking you at night, reducing grip, or lasting after you stop typing. Those are not normal adjustment signs. They mean the current setup or workload is too much, and a clinician or hand therapist may be more useful than another layout tweak.
Also stop if you notice yourself bracing. If the split keyboard only works when you hold the shoulders back, hover rigidly, or constantly monitor your wrists, it is not yet an easy setup.
Seven-Day Setup Plan
Day 1: Use the keyboard flat or with the lowest tenting. Set height so the shoulders drop.
Day 2: Adjust width until the wrists look straight from above.
Day 3: Adjust rotation so the forearms point naturally into the home row.
Day 4: Move the mouse or trackpad closer. Do not let the split create a new reach.
Day 5: Reduce thumb and pinky strain with one small remap if a specific key feels costly.
Day 6: Limit the new keyboard to defined work blocks and track next-morning symptoms.
Day 7: Keep the changes that lowered strain. Revert anything that required effort to tolerate.
Related Reading
Sources
- OSHA: Computer Workstations - Keyboards
- NIOSH: Considerations for Alternative Keyboard Use
- Cleveland Clinic: Repetitive Strain Injury
Medical Disclaimer
This article is for educational purposes only and is not medical advice. It does not diagnose, treat, cure, or prevent any condition. If you have severe pain, numbness, tingling, weakness, swelling, worsening symptoms, or symptoms that interfere with work or sleep, seek care from a qualified clinician.